Spider Plant Care: Easy Growing & Propagation Tips
Introduction
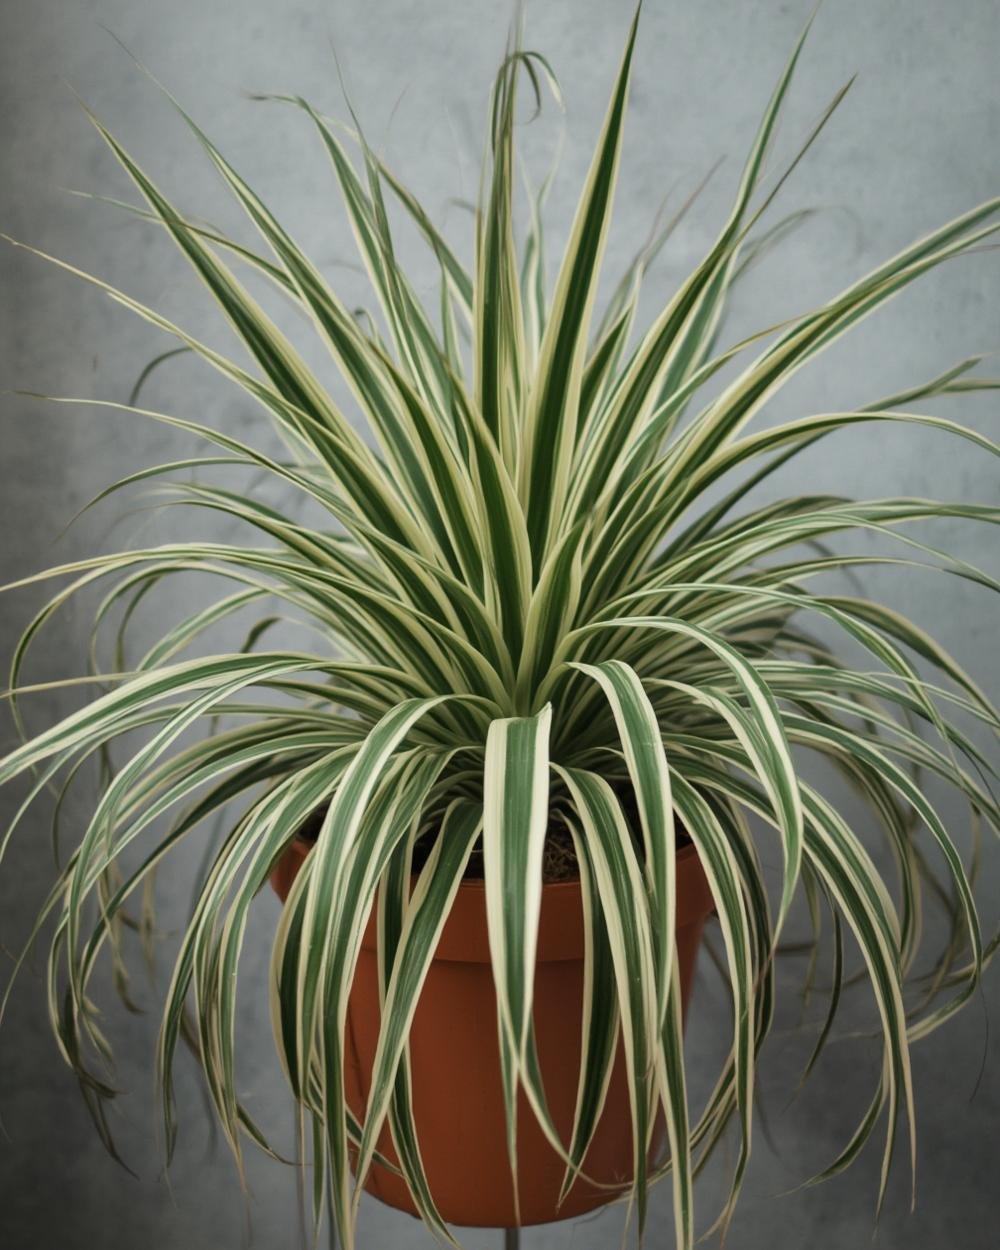
There’s a reason the spider plant (Chlorophytum comosum) has been a household favorite for decades. With its arching variegated leaves and effortless adaptability, it’s perfect for both novice plant parents and seasoned green thumbs. Beyond its air-purifying abilities, one of its most rewarding features is its knack for creating “pups”—baby spider plants that dangle from mature specimens. These tiny offshoots make spider plant propagation a breeze, turning a single plant into a verdant collection. Let’s dive into how to harness this superpower!
Step-by-Step Instructions for Spider Plant Propagation
Propagating your spider plant is straightforward, but timing and technique matter. Follow these steps for success:
1. Identify Healthy Pups: Look for plantlets (pups) with small roots forming at their base. These typically appear after the parent plant blooms.
2. Prepare Supplies: Use clean scissors or pruners, well-draining soil (e.g., cactus mix), and 3–4-inch pots.
3. Remove Pups: Snip the pup from the stem, keeping its roots intact. If roots are underdeveloped, place the pup in water for 1–2 weeks until they grow to ~1 inch.
4. Plant the Pups: Fill pots with soil, create a small hole, and nestle the roots in. Gently firm the soil around them.
5. Water & Position: Moisten the soil lightly and place the pots in bright, indirect light. Avoid direct sun, which can scorch young plants.
For your original spider plant, pruning spent stems after propagation encourages new growth. Pair this with consistent care, and you’ll master spider plant propagation in no time.
Tips to Maximize Success
– Light: Mature and baby spider plants thrive in bright, indirect light but tolerate low light.
– Watering: Let soil dry slightly between waterings. Overwatering causes root rot.
– Fertilizing: Feed monthly in spring/summer with a balanced liquid fertilizer diluted to half strength.
– Troubleshooting: Brown tips? Low humidity or fluoride in tap water. Use filtered water and mist occasionally.
Alternative Propagation Methods
1. Water Propagation: Suspend pups in a jar of water (only roots submerged) until roots grow longer. Transplant to soil afterward.
2. Division: For overcrowded plants, gently split the root ball during repotting. Ensure each section has healthy roots and leaves.
3. Laid-Back Approach: Leave pups attached to the parent. Place smaller pots of soil nearby, pin the pups onto the soil, and let roots develop while still connected.
Conclusion
The spider plant isn’t just a decorative powerhouse—it’s a generous grower that lets you multiply your greenery effortlessly. By mastering simple techniques for spider plant propagation, you’ll unlock endless opportunities to expand your indoor jungle or share plants with friends. Remember: patience, proper light, and mindful watering are the keys to nurturing thriving pups into lush, mature specimens. Happy propagating! 🌱