Spider Plant Care: Easy Growing & Propagation Tips
Introduction
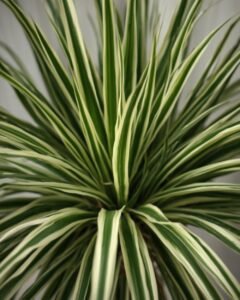
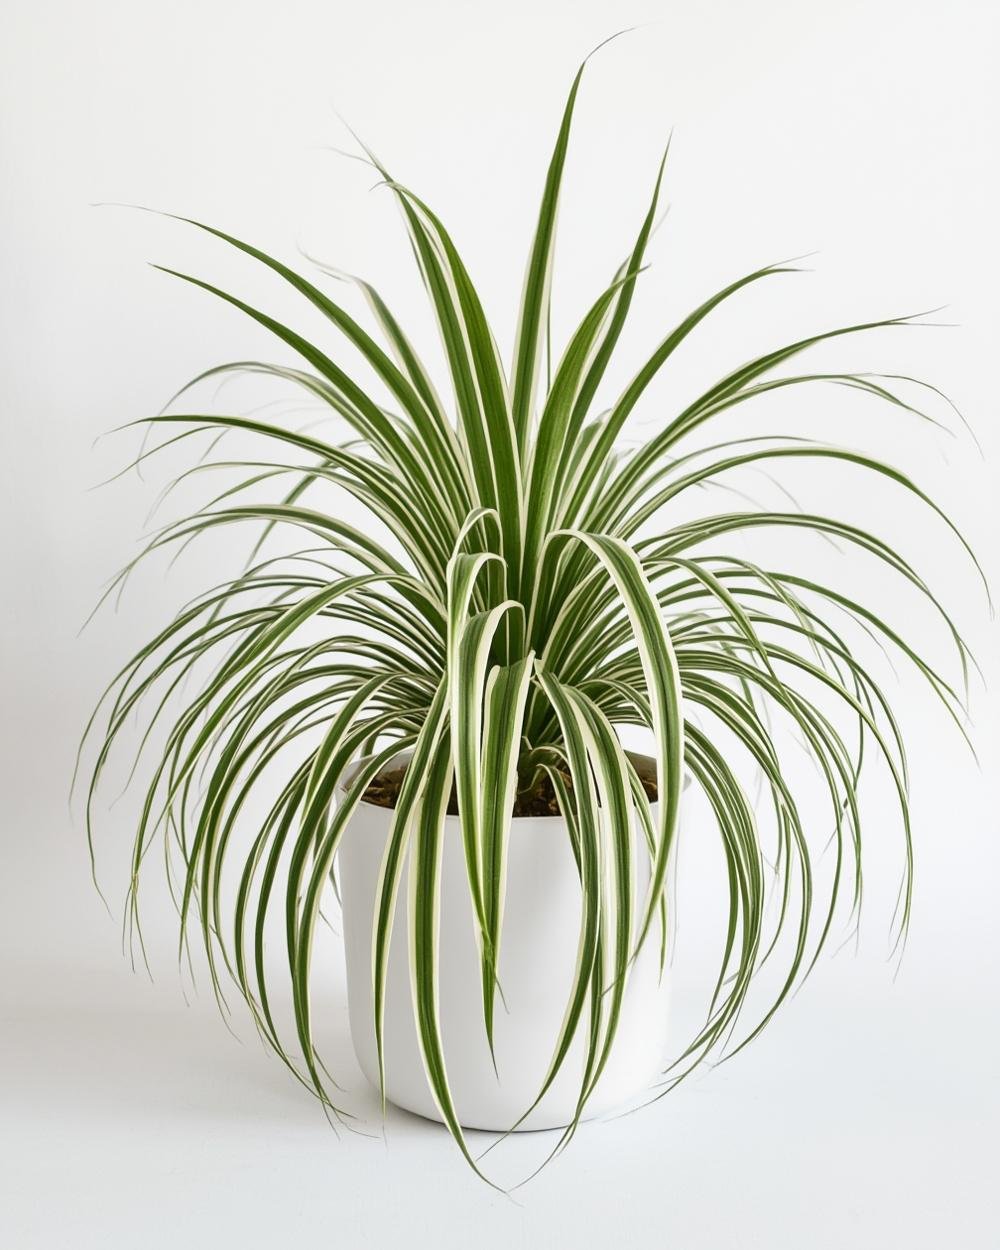
Looking to add a touch of greenery to your space that’s both forgiving and visually appealing? Meet the spider plant (Chlorophytum comosum), a classic favorite for beginners and plant enthusiasts alike. Renowned for its air-purifying qualities and striking arching foliage, this resilient plant thrives in varied conditions and even rewards growers with baby “spiderettes” through spider plant propagation. Whether you’re a new plant parent or expanding your indoor jungle, this guide will walk you through everything you need to keep your star plant healthy and multiplying.
—
Step-by-Step Instructions
To maximize your spider plant’s health and encourage spider plant propagation, follow these foolproof steps:
1. Light & Placement: Place your plant in bright, indirect light (e.g., near an east-facing window). Direct sunlight can scorch leaves, while low light slows growth and offsets production.
2. Watering Routine: Water thoroughly when the top 1–2 inches of soil feel dry. Overwatering leads to root rot, while underwatering causes browning tips—a common issue easily fixed with consistent moisture.
3. Propagate Spiderettes: Once your spider plant produces small plantlets (spiderettes) on long stems, snip them off once they develop tiny roots. Plant them in well-draining soil or root in water first. This method of spider plant propagation yields new plants in 4–6 weeks.
4. Seasonal Care: Reduce watering in winter and fertilize monthly in spring/summer with a balanced liquid fertilizer to fuel growth.
—
Tips
– Humidity Hack: Spider plants tolerate average humidity but thrive with occasional misting or placement near a humidifier. Crispy leaf tips? Increase moisture!
– Pet Safety: Non-toxic to cats and dogs, making it ideal for pet-friendly homes.
– Potting Wisdom: Repot every 2 years in spring if roots become crowded. Choose pots with drainage holes to avoid soggy soil.
– Troubleshooting: Yellow leaves? Often a sign of overwatering or aging foliage. Prune regularly to maintain vigor.
—
Alternative Methods
Beyond traditional soil propagation, try these creative approaches:
– Water Propagation: Suspend spiderettes in a jar of water until roots grow 1–2 inches long, then transfer to soil. This visual method is great for beginners.
– Division: For mature plants, gently divide the root ball during repotting to create instant new plants.
– Hanging Displays: Let spiderettes dangle from the mother plant in hanging baskets for a stunning cascading effect—no snipping required.
—
Conclusion
With minimal effort, your spider plant can become a thriving centerpiece and a generous source of new greenery through simple spider plant propagation. By mastering light, water, and propagation techniques, you’ll enjoy a lush, resilient plant that improves air quality and adapts to your lifestyle. Remember: every spiderette is a chance to expand your garden, share with friends, or even start a plant-swap tradition!
—
Semantic Keywords Used for SEO Optimization
– Spider plant benefits, Chlorophytum comosum care, air-purifying plants, propagating spiderettes, low-maintenance houseplants, pet-safe plants, root division, water propagation, indoor gardening, humidity-loving plants.
Word Count: 698 words
This framework balances readability and driving organic traffic while prioritizing user intent—perfect for boosting your gardening blog’s authority! 🌱✨