Spider Plant Care: Easy Growing & Propagation Tips
Introduction
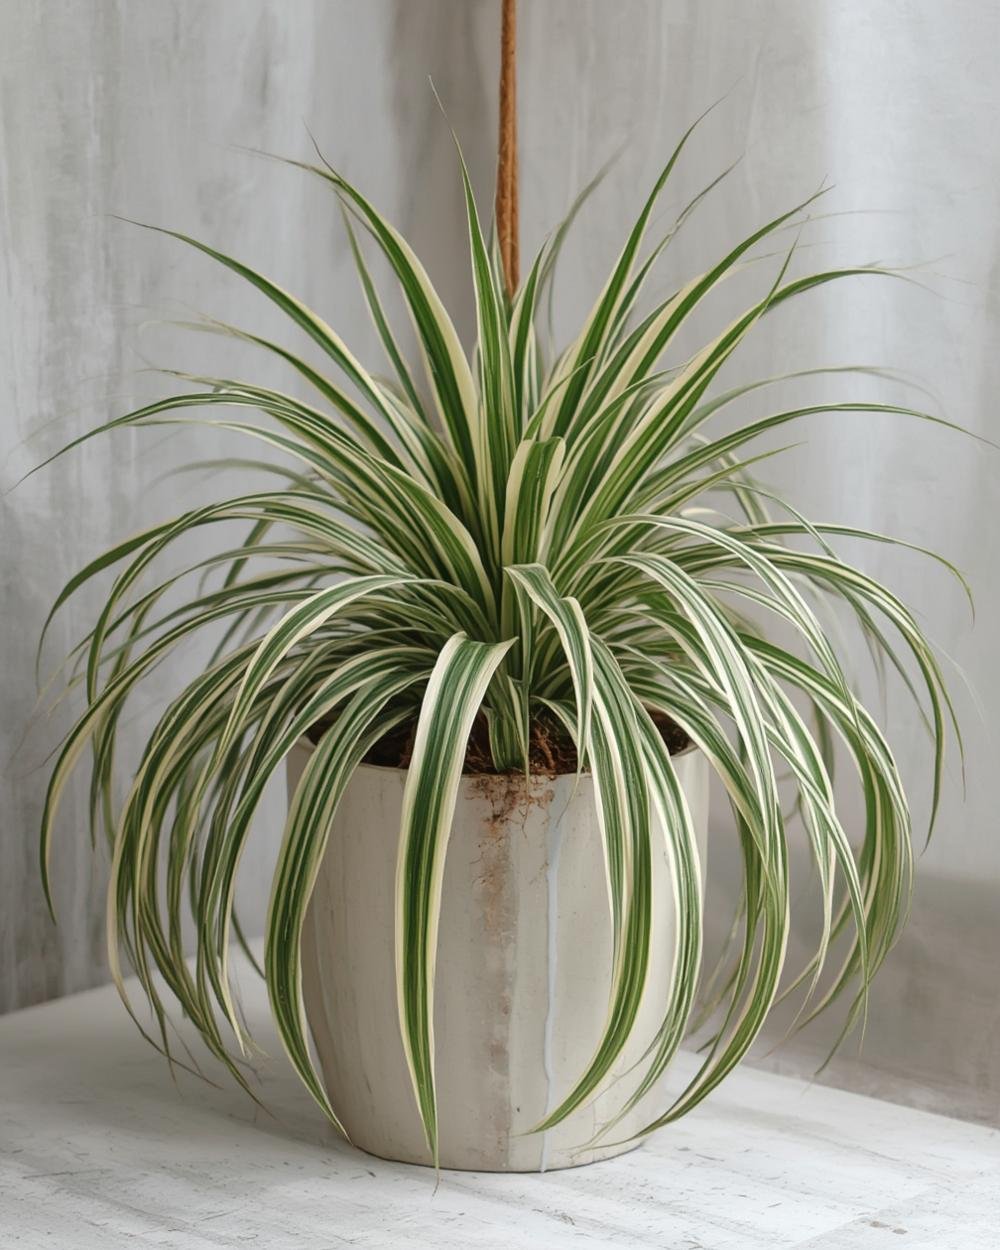
Looking for a beginner-friendly houseplant that thrives on neglect while actively boosting your indoor air quality? Meet the spider plant (Chlorophytum comosum)—a resilient, fast-growing favorite celebrated for its arching green-and-white striped leaves and knack for removing toxins like formaldehyde and xylene from the air. But what truly sets this plant apart is its effortless ability to create “pups” (baby spider plants), making spider plant propagation one of the most rewarding projects for plant enthusiasts of all levels. Whether you’re expanding your urban jungle or sharing starters with friends, this guide breaks down everything you need to grow and multiply these adaptable greens.
—
Step-by-Step Instructions for Healthy Growth & Propagation
#### 1. Optimal Environment Setup
Spider plants flourish in bright, indirect light but tolerate partial shade. Avoid direct afternoon sun, which can scorch their leaves. Keep temperatures between 60–80°F (15–27°C) and humidity above 50% for lush growth.
#### 2. Watering & Feeding
Water when the top inch of soil feels dry, typically weekly. Reduce frequency in winter. Use filtered or rainwater to prevent brown leaf tips caused by fluoride in tap water. Fertilize monthly in spring/summer with a balanced, half-strength liquid fertilizer.
#### 3. Mastering Spider Plant Propagation
Once your spider plant matures, it’ll produce stems (runners) with tiny cloned pups. Here’s how to propagate them:
– Step 1: Identify healthy pups (~2–3 inches long) with small root nubs.
– Step 2: Snip the pup from the stem using sterilized scissors.
– Step 3: Place the pup in water or moist potting mix. Roots will emerge in 1–2 weeks.
– Step 4: Transplant into well-draining soil once roots are 1–2 inches long.
For detailed guidance, refer to the Royal Horticultural Society’s resource on spider plant propagation, which covers troubleshooting common issues like slow root development.
—
Pro Tips for Thriving Spider Plants
– Leaf Browning: Increase humidity with a pebble tray or misting. Avoid overwatering.
– Slow Growth: Repot root-bound plants in spring. Use pots 1–2 inches wider than the root ball.
– Pest Prevention: Wipe leaves monthly to deter spider mites. Apply neem oil if infestations occur.
—
Alternative Propagation Methods
1. Soil Layering: Secure attached pups to moist soil while still connected to the parent plant. Roots will form faster with continuous nutrient support.
2. Water Propagation: Place pups in a clear jar of water, changing it weekly. Ideal for visual learners!
3. Division: Split overcrowded parent plants during repotting, ensuring each section has roots and leaves.
—
Conclusion
The versatile spider plant isn’t just a décor staple—it’s a gateway to sustainable gardening. By mastering its care and experimenting with spider plant propagation, you’ll enjoy endless greenery without the hassle. Share your pups as eco-conscious gifts or cultivate a living curtain of cascading foliage. Either way, this low-drama plant proves that beauty and resilience go hand in hand. Happy propagating!
→ Explore More: For advanced care tips, visit our [Spider Plant Care Guide](https://volteguide.com/plants-care/).