Spider Plant Care: Easy Growing & Propagation Tips
Introduction
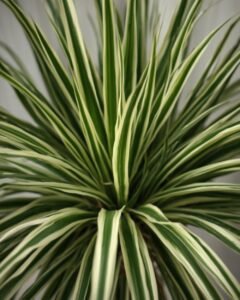
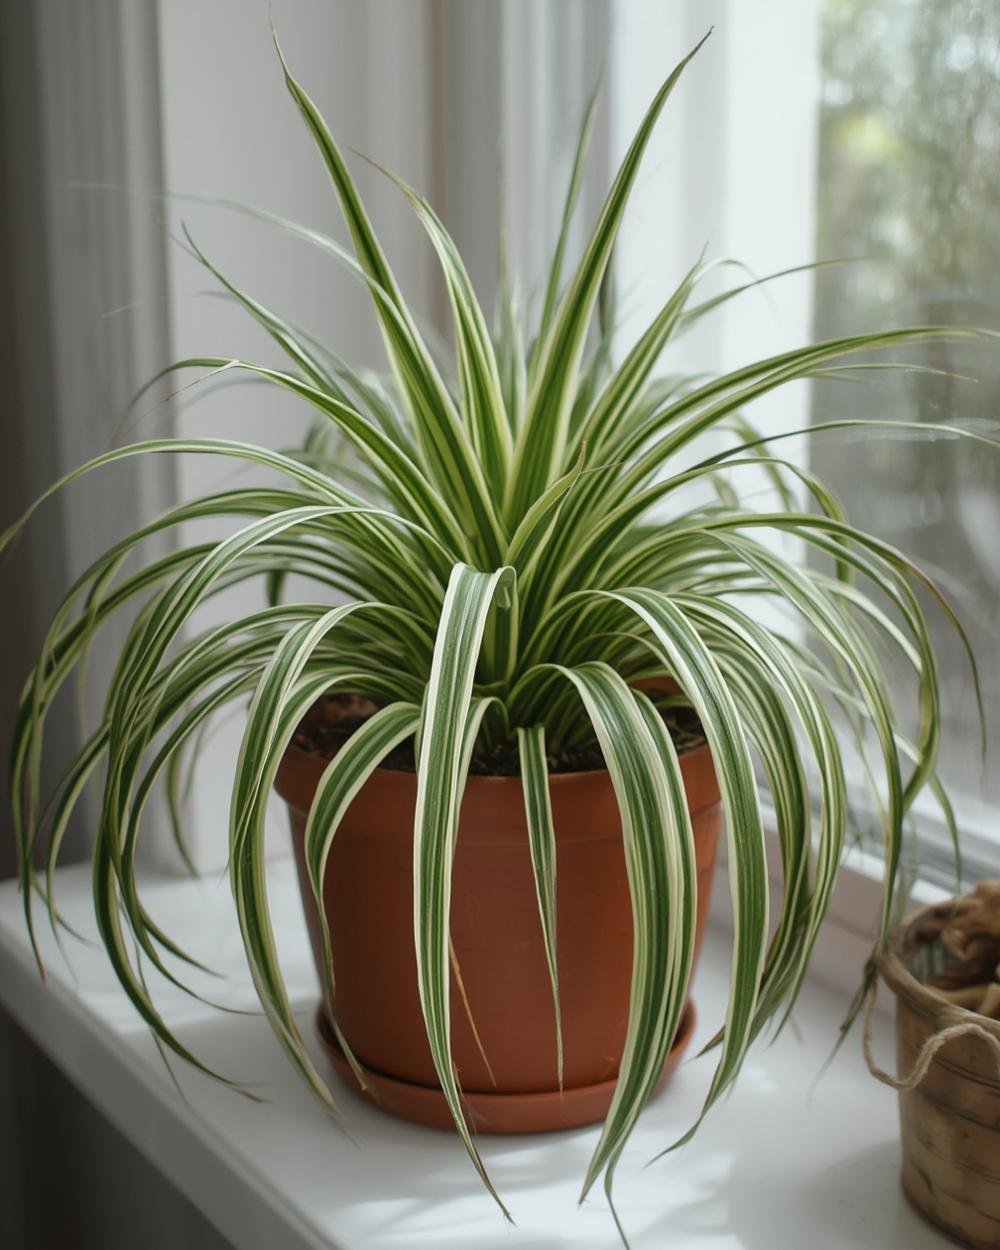
If you’re searching for a resilient, air-purifying houseplant that thrives on minimal fuss, look no further than the iconic spider plant. Known scientifically as Chlorophytum comosum, this adaptable green superstar has earned its reputation as a beginner-friendly favorite, thanks to its arching foliage and effortless reproduction through spiderettes (baby plants). But what truly sets it apart is its magical ability to multiply—making spider plant propagation one of the most rewarding projects for plant enthusiasts. Whether you’re expanding your indoor jungle or sharing greenery with friends, mastering these techniques ensures endless growth.
—
Step-by-Step Instructions
Ready to multiply your spider plant collection? Follow this failproof method for propagating using offsets (spiderettes):
1. Identify Healthy Offsets: Wait until spiderettes develop small roots (1–2 cm long) dangling from the mother plant. This signals they’re ready for independence.
2. Snip & Separate: Use sterilized scissors to cut the spiderette from the stem, keeping its roots intact.
3. Choose Your Medium:
– Water Propagation: Place the offset in a jar of water, submerging only the roots. Change water weekly.
– Soil Propagation: Plant directly into moist, well-draining potting mix. Lightly cover the roots.
4. Create a Humid Microclimate: Cover the pot with a plastic bag or place it in a tray with pebbles and water to boost humidity.
5. Wait & Monitor: Roots will establish in 2–4 weeks. Keep soil slightly damp or water clear.
For best results, pair spider plant propagation with bright, indirect light and warm temperatures (18–24°C). Avoid overwatering—root rot is the #1 killer of fledgling plants!
—
Tips for Thriving Spider Plants
– Light: Bright, indirect sunlight keeps variegated varieties vibrant. Direct sun scorches leaves.
– Watering: Let soil dry slightly between waterings. Spider plants tolerate drought better than soggy soil.
– Fertilizer: Feed monthly with balanced liquid fertilizer during spring/summer. Skip in winter.
– Troubleshooting: Brown tips? Low humidity or fluoride in tap water. Use filtered/rainwater.
—
Alternative Methods
Not all propagation requires spiderettes! Try these creative approaches:
1. Division: During repotting, split a mature plant’s root ball into sections, each with leaves and roots.
2. Seed Cultivation: Though rare, spider plants produce seeds after flowering. Sow seeds in seed-starting mix and keep moist.
3. Water Propagation for Rootless Offsets: No roots? Suspend spiderettes in water until roots emerge (change water weekly).
—
Conclusion
The humble spider plant isn’t just a decor staple—it’s a gateway to the addictive world of plant propagation. By mastering spider plant propagation , you’ll unlock endless opportunities to grow, share, and connect with fellow plant lovers. Remember: patience pays off. Start small, celebrate each new root, and soon you’ll have a lush, cascading family of spider plants purifying your air and uplifting your space!